Project Summary
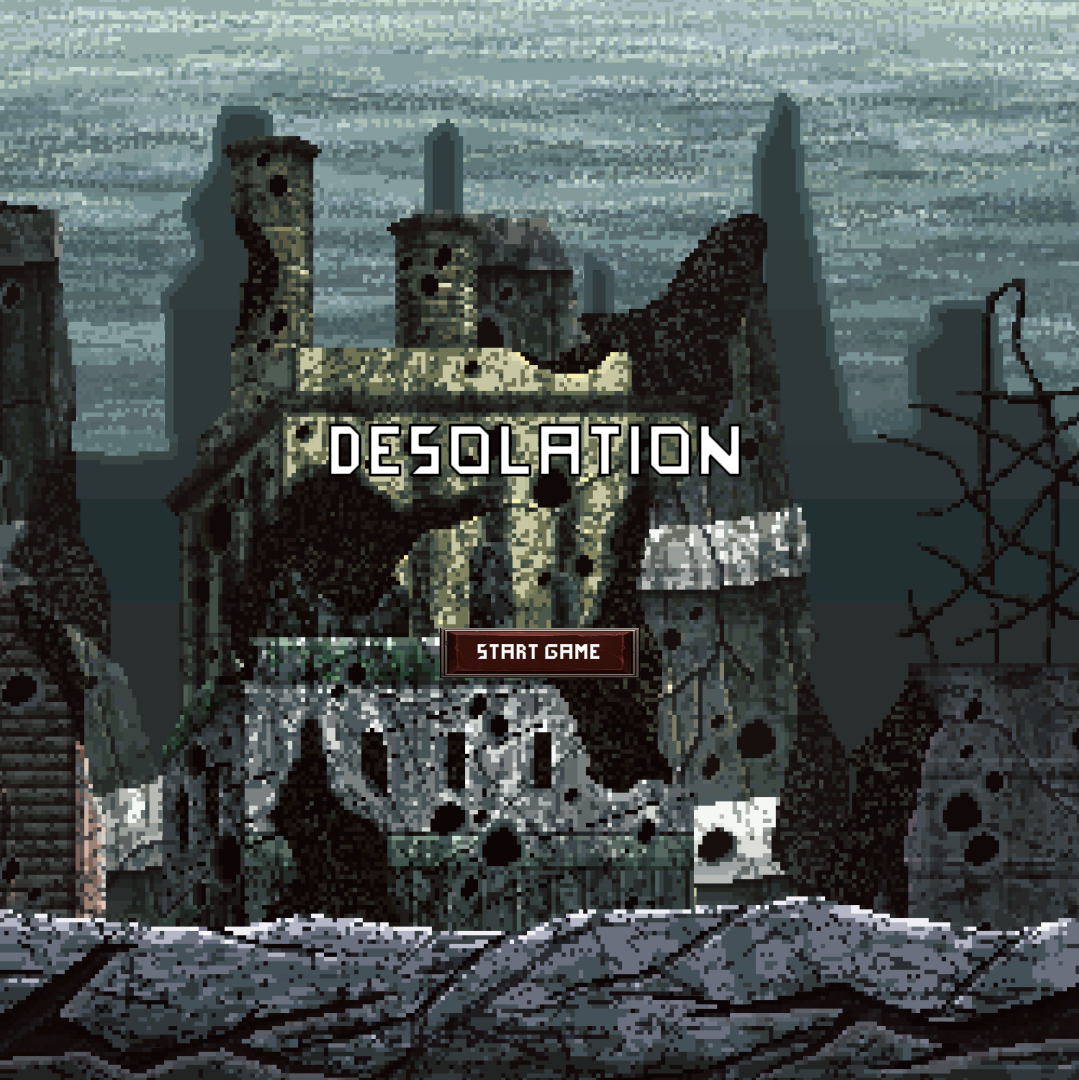
Desolation was the first 2D side-scrolling game I developed. The player is a warrior armed with a sword, and they explore the game world, eliminate enemies, and use the dropped gold to purchase various upgrades. The player’s main task is simply to survive as long as possible – there is no ulterior goal or endgame.
The player has full horizontal and vertical movement. Their attacks and attack animations change depending on their current actions – swinging their sword while standing still has lesser reach than attacking while running, for example. All attacks have unique animations.
The game world is essentially endless. As the player moves left or right, old world “tiles” are despawned and new ones are created ahead of the player.
Enemies will also randomly spawn around the player. This spawning system scales with time, so as a run progresses, more and more enemies will spawn. Enemies will drop gold, which the player can pick up and use to purchase various upgrades for health and damage. This upgrade screen can be accessed by pressing [ESC].
Work and Credits
All code in this game was written by me, including movement and attacking, the enemy spawning system, and the regenerative world system. All art assets, including animation, were taken from the Unity Asset Store. Credit goes to SZADI ART for the character sprites, to PONETI for the UI assets, and to Craftpix for the background.
Reflections and Development Process
Desolation was my first 2D project, which required a different development approach coming from my, up until now, 3D-only project background. Working with sprites and sprite animation in Unity was new to me, and on top of this, I also wanted to try new concepts like character upgrades and endless world generation.
Inspiration
First order of business was searching for sprites that fit the pixel-art theme I wanted to build the game around. I had recently been playing Kingdom: New Lands and Kingdom: Two Crowns with my brother over the summer, and thought it would be pretty neat if I could develop a game with a similar theme. Fortunately, SZADI ART’s sprite collection was perfect for this purpose, and it included animation sets for each sprite, so I could actually give the player and enemy characters unique animations for different actions.
I also needed a background and “ground” to build the game’s environment. I found a great art pack in Craftpix’s “War Pixel Art Background” set, and it divided its background into several layers, intended for use in parallax-effect backgrounds. It would only be later into the project’s development cycle that I understood what “parallax” meant, much less attempt to implement the effect; more on this later.
Core Mechanics
As usual, I focused on implementing the game’s core mechanics first. This included 2D movement and attacking. I went with [A] + [D] + [Space] for the controls (left, right, and jump respectively). I had foregone a “crouch” move as none of the sprites included a crouch animation. Wanting to make full use of the assets I had, I outlined several “move-combos” I wanted the player to have – attacking while standing still, attacking while moving, attacking while sprinting, attacking while jumping, and so on. I based these attack cycles off of the animation sets that were included with SZADI ART’s sprites – while none were labeled explicitly as “sprint-attack” or “jump-attack,” I felt that each animation set really matched a particular moveset, and developed the different attack cycles from there.
The PlayerCombat2D script handles player attack inputs. There are three attack moves the player can make – a basic attack while standing still, an attack while walking, and an attack while sprinting. All three attacks deal the same damage, but have different attack ranges (the standing attack has the lowest range, while the sprint attack has the highest). I implemented these different attack ranges so that the attack hitbox matched each attack’s animation.
Enemies
Setting up enemy AI was simple. To make my work more organized and easier to maintain, I divided different behaviors into different scripts, creating a modular class structure that was faster to modify and easier to understand for someone who might have never seen this code before. I did this mainly because I actually enjoy organizing code, but also because I wanted to use some of these scripts for another team project (Force of Nature) and having this structure already in place would make it easier for me to explain to my teammates how the AI in that game would work.
The EnemyMovement2D script checks for objects of interest in a circle around the enemy, and if it finds one, it marks a boolean – foundTarget – as True. At the same time, the Move() function, which is called every tick, will move the enemy in the direction of that object of interest if foundTarget is True (otherwise, the function does nothing). The only possible object of interest for enemies to find is the player, but the Detect() function could easily be modified to look for other objects of interest.
The EnemyHealth script, as its name implies, handles enemy health, incoming damage, death, and death cleanup. I wanted enemies to remain on the ground for some time after they were killed, so their death animations could fully play – hence the death cleanup code.
The EnemyLoot script handles loot drops. This was my first time creating a random chance system in a game, and I really enjoyed doing so. It’s also quite simple; it takes in a gameObject – in this case, a coin – and a float, or a decimal number – the chance for the coin to drop on death. If the enemy dies, the script rolls a random float between 0 and 1.0, and if this number is less than or equal to the drop chance of the coin, it spawns a coin at the enemy’s position. I could have written the script to use arrays of gameObjects and associated floats to give enemies drop tables with multiple items, but because I only planned for enemies to drop coins, this system was adequate.
Animations
Normally, I would’ve then went to developing the world-generation system. However, I naturally got carried away while developing the attack and move cycles for the player, and decided that while I was on this step, I might as well implement the animations! This process took a great deal of learning on-the-fly – I hadn’t yet messed around with Unity’s animation system to the depth I needed for this project, much less with sprites, so I dedicated a good day or two towards learning the system. I hit many roadblocks – safe to say that setting up animations is one of my least favorite parts of working in Unity – but after a few days of testing and troubleshooting, I was able to get all the necessary animations for the player character to run and loop as needed!
Note: There were a few issues with the current animation setup, like some death animations not interrupting other animations that are currently running, which prevents the game from looking responsive and smooth. This was likely due to how I set up and ran animation triggers, and could be solved through some additional code.
World Generation
I tackled the world-gen system once animations were finished. Since I wanted the game world to be effectively “infinite,” I needed a way for the game to generate terrain on-the-fly. The most efficient way to do this, I thought, was to simply have the game detect what direction the player was moving in, spawn new instances of the terrain/ground asset ahead of their vision range, and destroy “old” terrain asset instances outside the player’s vision range on the opposite side of the level. The terrain asset I was using was fortunately large enough that this repeating pattern wouldn’t be super noticeable, which helped improve the immersion of the game somewhat.
Once that was in place, I put in the background by layering several of the background assets I had on top of one another to create an abandoned “city” appearance. When playtesting however, I felt that the background felt too static. While playing other side-scrolling games (shoutout to Kingdom Two Crowns), I noticed that the backgrounds of these games shifted and moved around as the player moved – this was the parallax effect I mentioned earlier. Setting it up in Desolation took a bit of work, but was pretty simple in the end; I just needed to write up code to move each background asset (at different speeds for each layer) as the player moved, then duplicate these assets to make a repeating side-by-side patter similar to the terrain generation.
Enemy Spawning
With the rest of the game more or less in place, I started designing what would become my favorite part to work on – the enemy spawning system. I was heavily inspired by Risk of Rain 2’s Director system for this – in short, the spawning manager has a “budget” of points for each enemy wave, and each enemy type has a point cost, as well as a chance to be selected. When the spawning manager detects that the enemy count has dropped below a certain point, it refills its spawn budget using a formula based on the current wave number, the game difficulty (a constant number in this case), and the game’s elapsed time. This allows more enemies to spawn the further the player progresses. Once the budget has been calculated, it proceeds to spawn enemies by first randomly selecting the enemy to spawn, the location to spawn them in (a random spot on the ground on either far side of the player), instantiating them in the world, and subtracting their cost from the spawn budget. Spawning stops once the budget is fully spent.
It took several testing passes and adjustments to the spawning formulas to find a system that I was satisfied with. First, the amount of enemies spawned would ramp up too fast, and the player would have to face far too many enemies in too little of a timeframe. I fixed this by simply adjusting the calculation for the timescale variable (the factor that increases spawn budget based on elapsed time). Then, I realized that if the player survived for too long, the system would spawn so many enemies that it would destabilize the game, dropping framerate. To fix this, I capped the spawn budget so that no matter how much time passed, there would be a maximum value it could reach. I also originally wrote the system with plans to implement difficulty selection, but that was a stretch goal I wasn’t able to find time for. However, the spawn manager formulas still use difficulty as a factor, so if I were to implement player-chosen difficulty in the future, I could easily do so.
Final Thoughts
While Desolation overall is a pretty straightforward, uncomplicated affair, it acted as the stepping stone for enshrining many of my design philosophies. Its gameplay loop is endless, and with practically infinite scaling, players can progress far into the game while modifying their character to become more powerful in the ways they wish.
Desolation also allowed me to experiment with several code structures and systems that I would use in future projects. I used the spawning system in both A Force of Nature and A Numbers Game, and those games would also make use of modular code to shape the behavior of the characters played and encountered in those worlds. Working on this game also taught me the importance of writing modular, organized code in the first place, and practically all of my future projects would follow this writing philosophy to some extent.


